 Getting Evernote set up on your computer doesn’t automatically mean you’ve got the Web Clipper installed.
In my book, clipping websites is the best feature as I love using the program as a bookmarking service on steroids. Not only is it easy to manage your categories of notes, you get the visual benefits of seeing a page from the site you saved. Grooviness.
Here’s a quick walk-through to get that bad boy set up. No worries if you don’t have an Evernote account yet–there will be a place to do that in #4 below.
This is on a Mac. Hopefully PC is basically the same. If not, please let me know in the comments section.
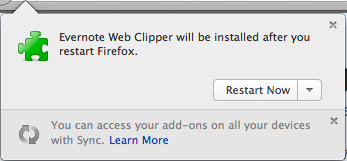
(Note: You’ll probably have to restart your browser to do the final setup.)
#1 Goto “Evernote Web Clipper”
It’ll see which web browser you are using. Click on button saying you want the Web Clipper.
(If you use more than one browser, for ex. Firefox and Safari, you’ll do this again in that browser.)
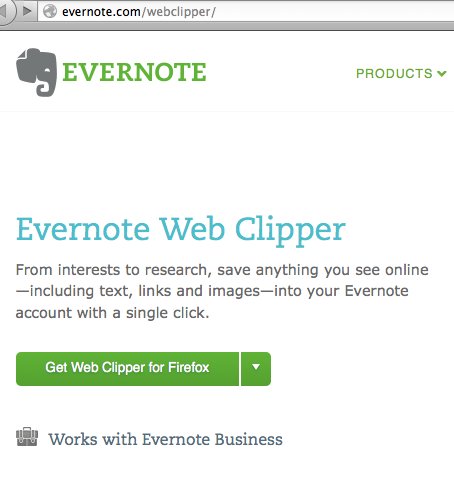
Clicking on that took me to the Firefox website where the plug-in was available.
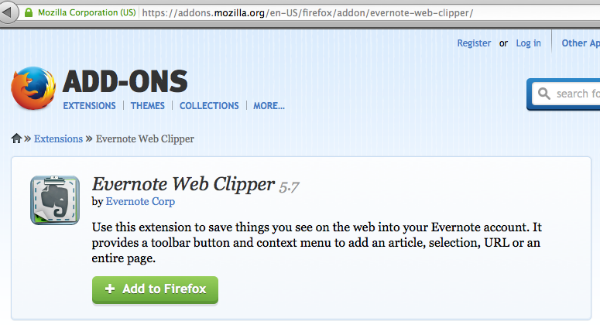
#2 Click on the green button to add the plug-in.
#3 Close your other windows, then hit the Restart Now button (or just close the broswer) and then open it up again.
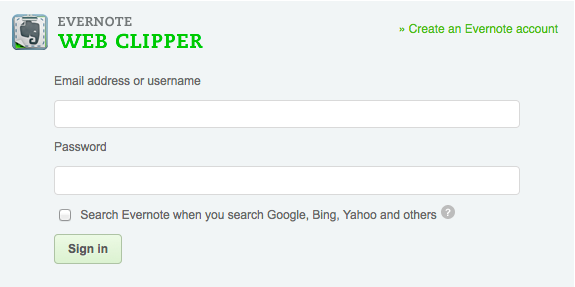
#4 You should now see a little elephant icon near your address bar. Click once and you’ll be asked to do the final set up of connecting that Web Clipper to your Evernote account.
IF you don’t already have an Evernote account, note the “Create an Evernote account” link in the upper right hand corner and click it. You’ll know what to do next.